こんにちは、パパきんめです。
最近ブログの見た目をアップデートできたらなと思ってまして。
いきなりガラッと見た目を変えるのは労力がかかるので、プログラミングの勉強も兼ねて細かいところからやっていこうかと。
素人目線で「ここ、もう少しこうだといいな」ってとこを変更していきます。
第一弾はPCで見たときのテキストリンクについて。
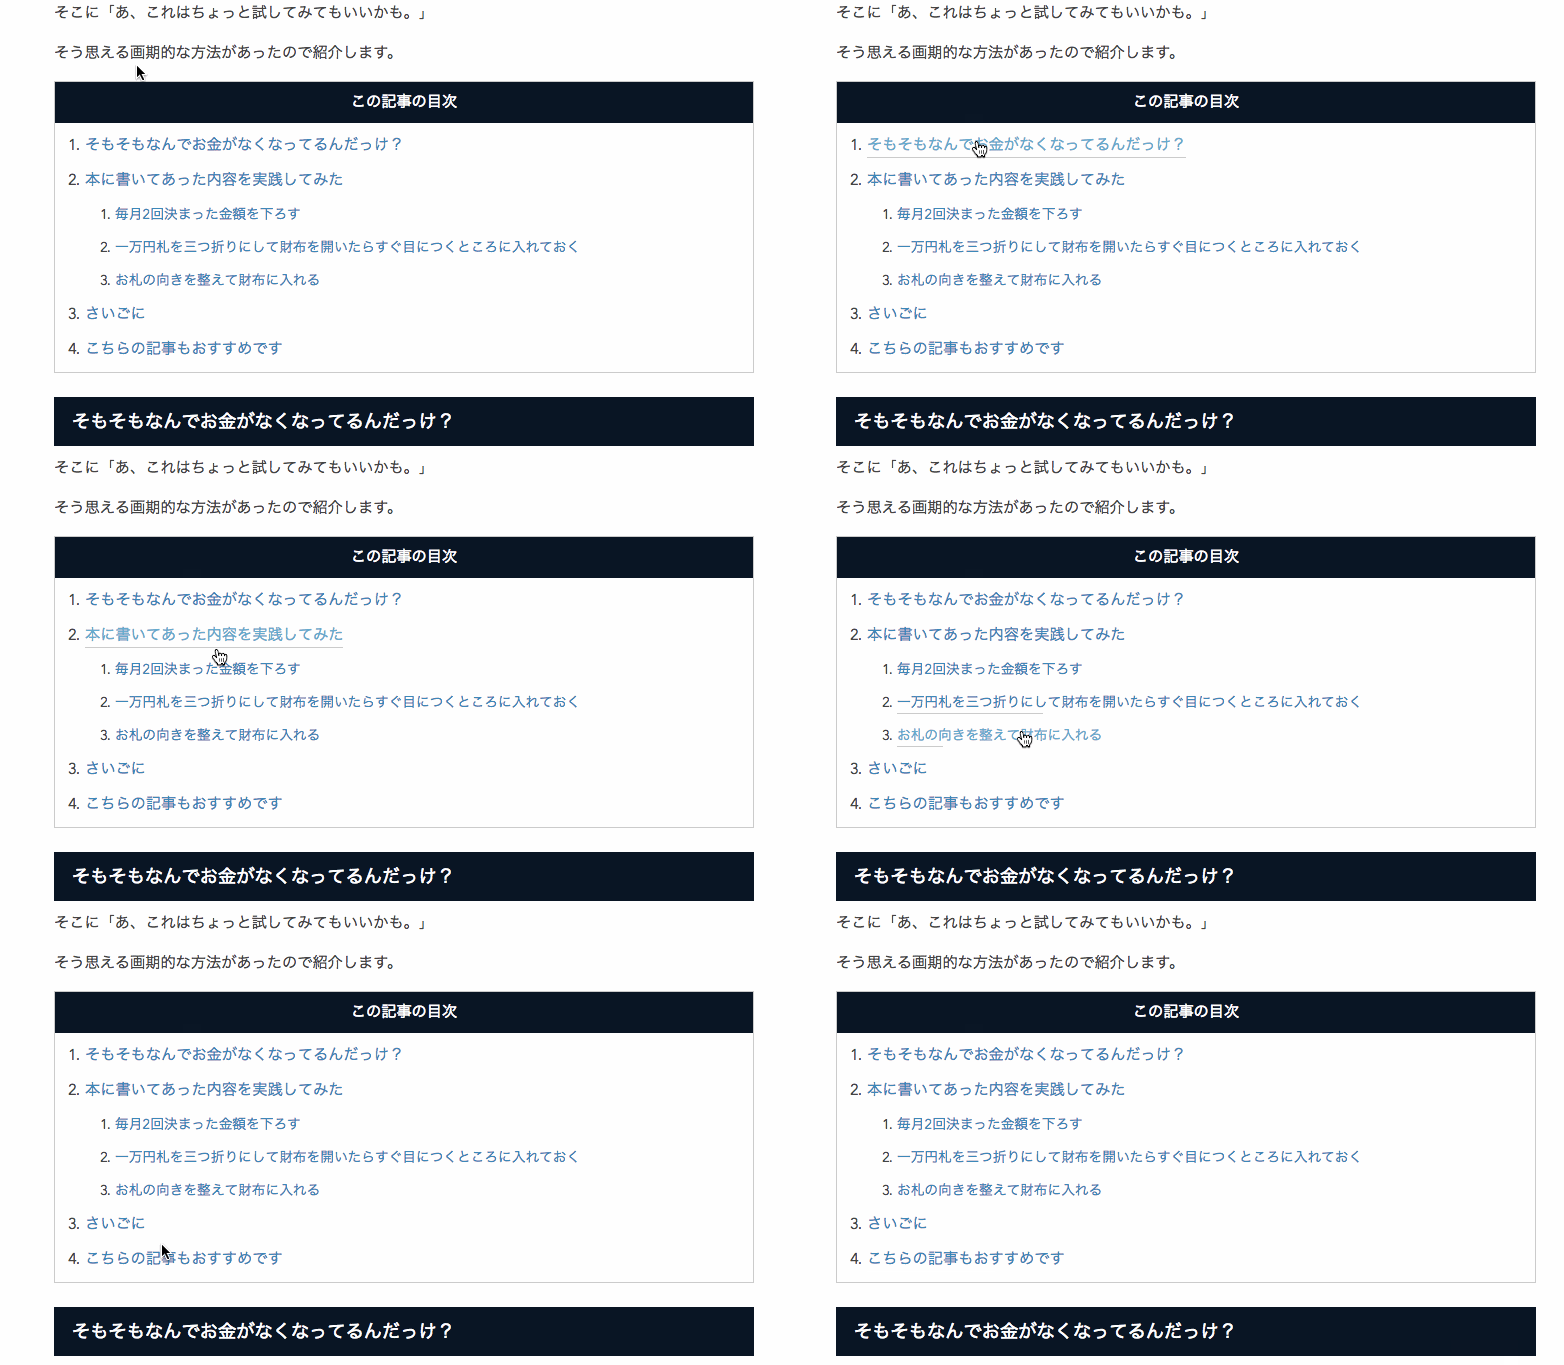
普通だとマウスを乗せるとパッと下線が付くけど、これにアニメーションを加えていきます。
目次
左から右へバージョン
まずは左から右へ下線がにゅい〜んとアニメーションするやつ。
アニメーションサンプル

プログラム
はてなブログの管理画面から「デザイン」-> 「カスタマイズ」->「デザインCSS」をクリックしてもらい、以下のプログラミングコードをコピペしてもらえればOKです。
.entry-content a {
position: relative;
display: inline-block;
text-decoration: none;
}
.entry-content a::before {
position: absolute;
bottom: 0;
left: 0;
content: "";
display: inline-block;
width: 0;
height: 1px;
background: #cccccc;
transition: .15s linear;
}
.entry-content a:hover::before {
width: 100%;
}
中央から左右へバージョン
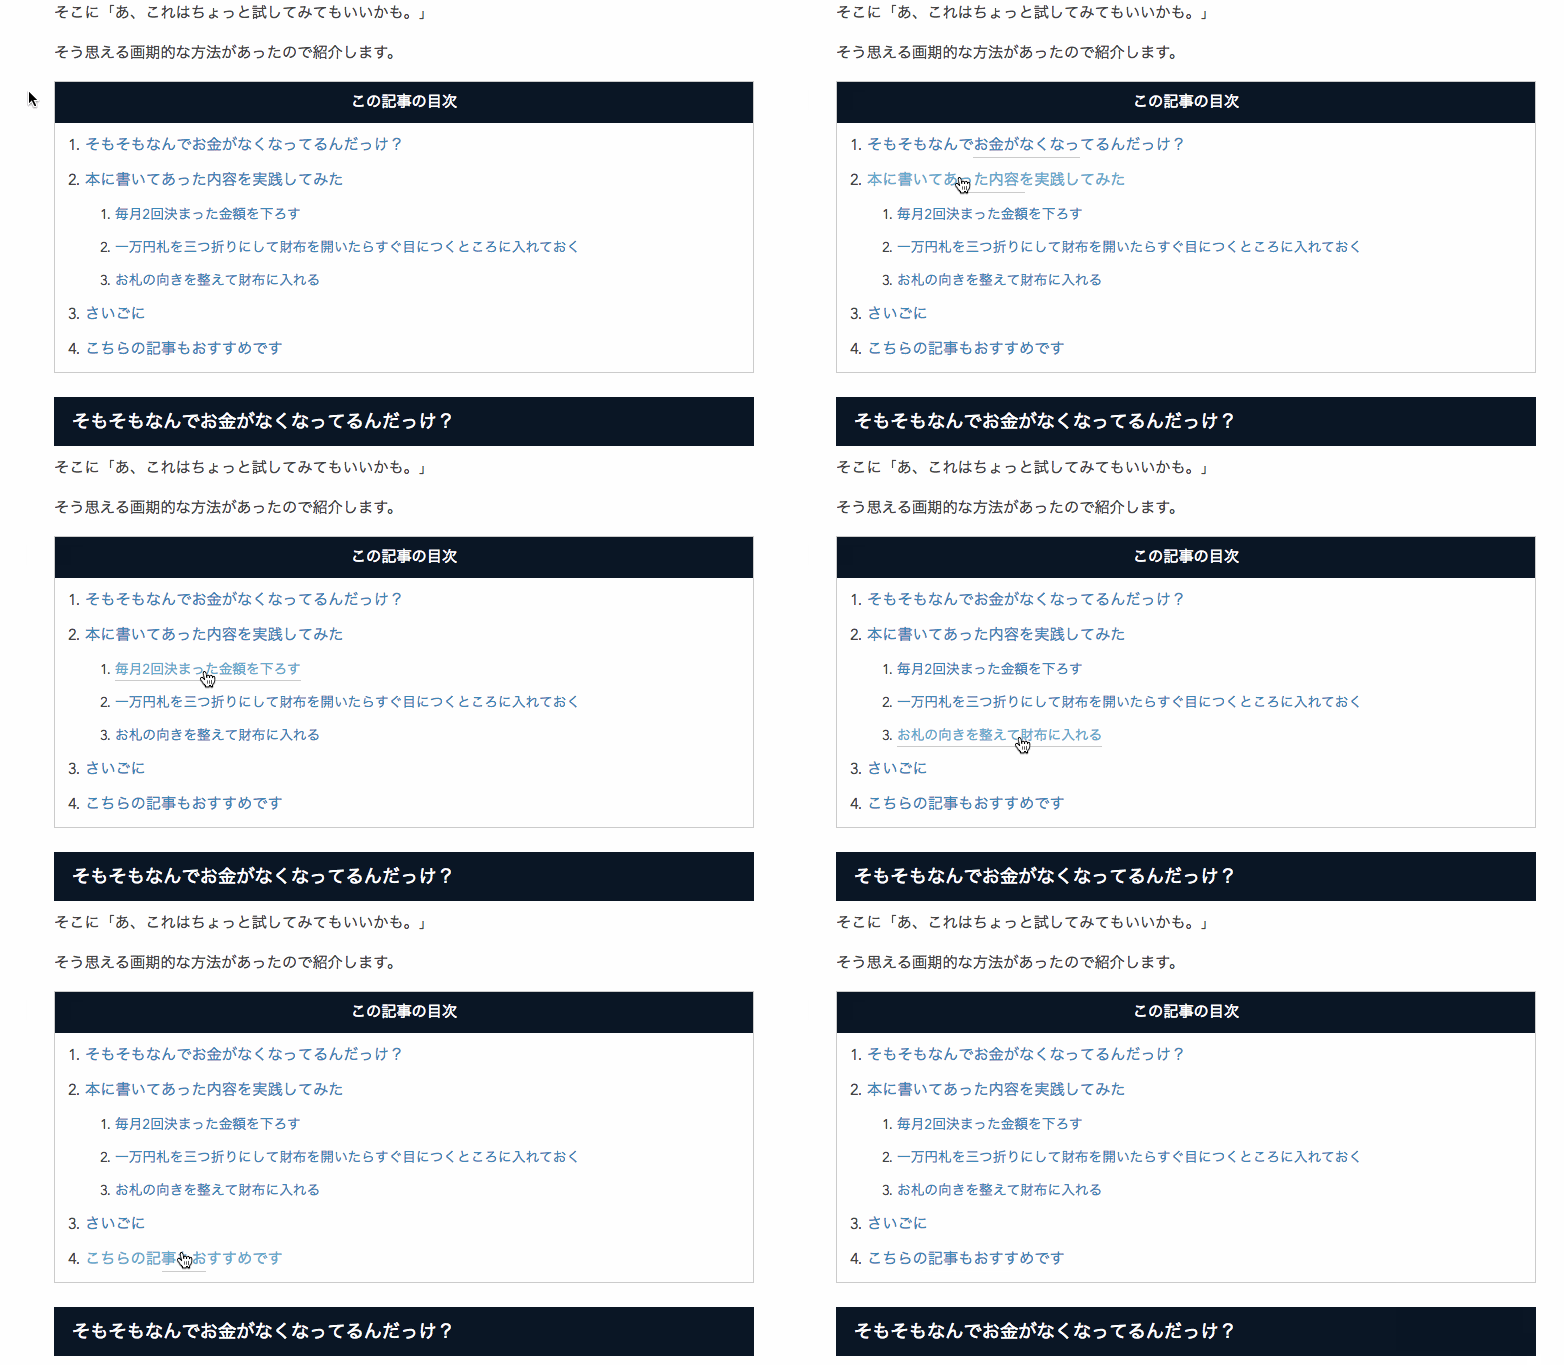
次は中央から左右へにゅい〜んとアニメーション。
アニメーションサンプル

プログラム
.entry-content a {
position: relative;
display: inline-block;
text-decoration: none;
}
.entry-content a::before,
.entry-content a::after {
position: absolute;
bottom: 0;
content: "";
display: inline-block;
width: 0;
height: 1px;
background: #cccccc;
transition: .15s linear;
}
.entry-content a::before {
left: 50%;
}
.entry-content a::after {
right: 50%;
}
.entry-content a:hover::before,
.entry-content a:hover::after {
width: 50%;
}
カスタマイズ方法のご紹介
下線の色を変更
.entry-content a::before {
position: absolute;
bottom: 0;
left: 0;
content: "";
display: inline-block;
width: 0;
height: 1px;
background: #cccccc; <- ここの値を変更
transition: .15s linear;
}
色を変えるには #cccccc の値を変更します。
どんな色があるのか見たいという方はWebで検索するとすぐ出てきます。
そして#から始まる6ケタの英数字をコピペすればOKです。
下線のアニメーションの速度を変更
.entry-content a::before {
position: absolute;
bottom: 0;
left: 0;
content: "";
display: inline-block;
width: 0;
height: 1px;
background: #cccccc;
transition: .15s linear; <- ここの値を変更
}
.15sとなっているところを変更してみてください。
.2s や .1s など数値を変えてみて好みのアニメーションになるまで調整してみてください。
まとめ
プログラミングでやりたいことが実現できると楽しいですね。
興味がある方はネット上にサンプルがたくさんあるので、調べてみるといいですよ。
それではまた!
パパきんめでした。


